I realized installing MongoDB on various systems can be a bit tricky, so I decided to make a post on the installation process of MongoDB on Windows(which is by the way the OS I use).
MongoDB is an open-source document database that provides high performance, high availability, and automatic scaling .This document is a guide on how to install MongoDB community edition on Windows 10. MongoDB runs on most platforms and supports 64-bit architecture for production use and both 64-bit and 32-bit architectures for testing. The focus of this document is How to install MongoDB on Windows 10 64-bits.
Prerequisite
To be able to get MongoDB up and running, the following software is required.
- Windows Server 2019 or
- Windows Server 2016
The .msi installer includes all other software dependencies and will automatically upgrade any older version of MongoDB installed using an .msi file. After ascertaining that the required software is available the next step is to go the MongoDB official site (mongodb.org/downloads) and download the MongoDB built you need and that which is compatible with your OS(in our case MongoDB for Windows 64-bits).
Note: Please keep in mind that the 64-bit versions of MongoDB do not work with 32-bit Windows. So ensure you download the correct version of MongoDB for your Windows system.
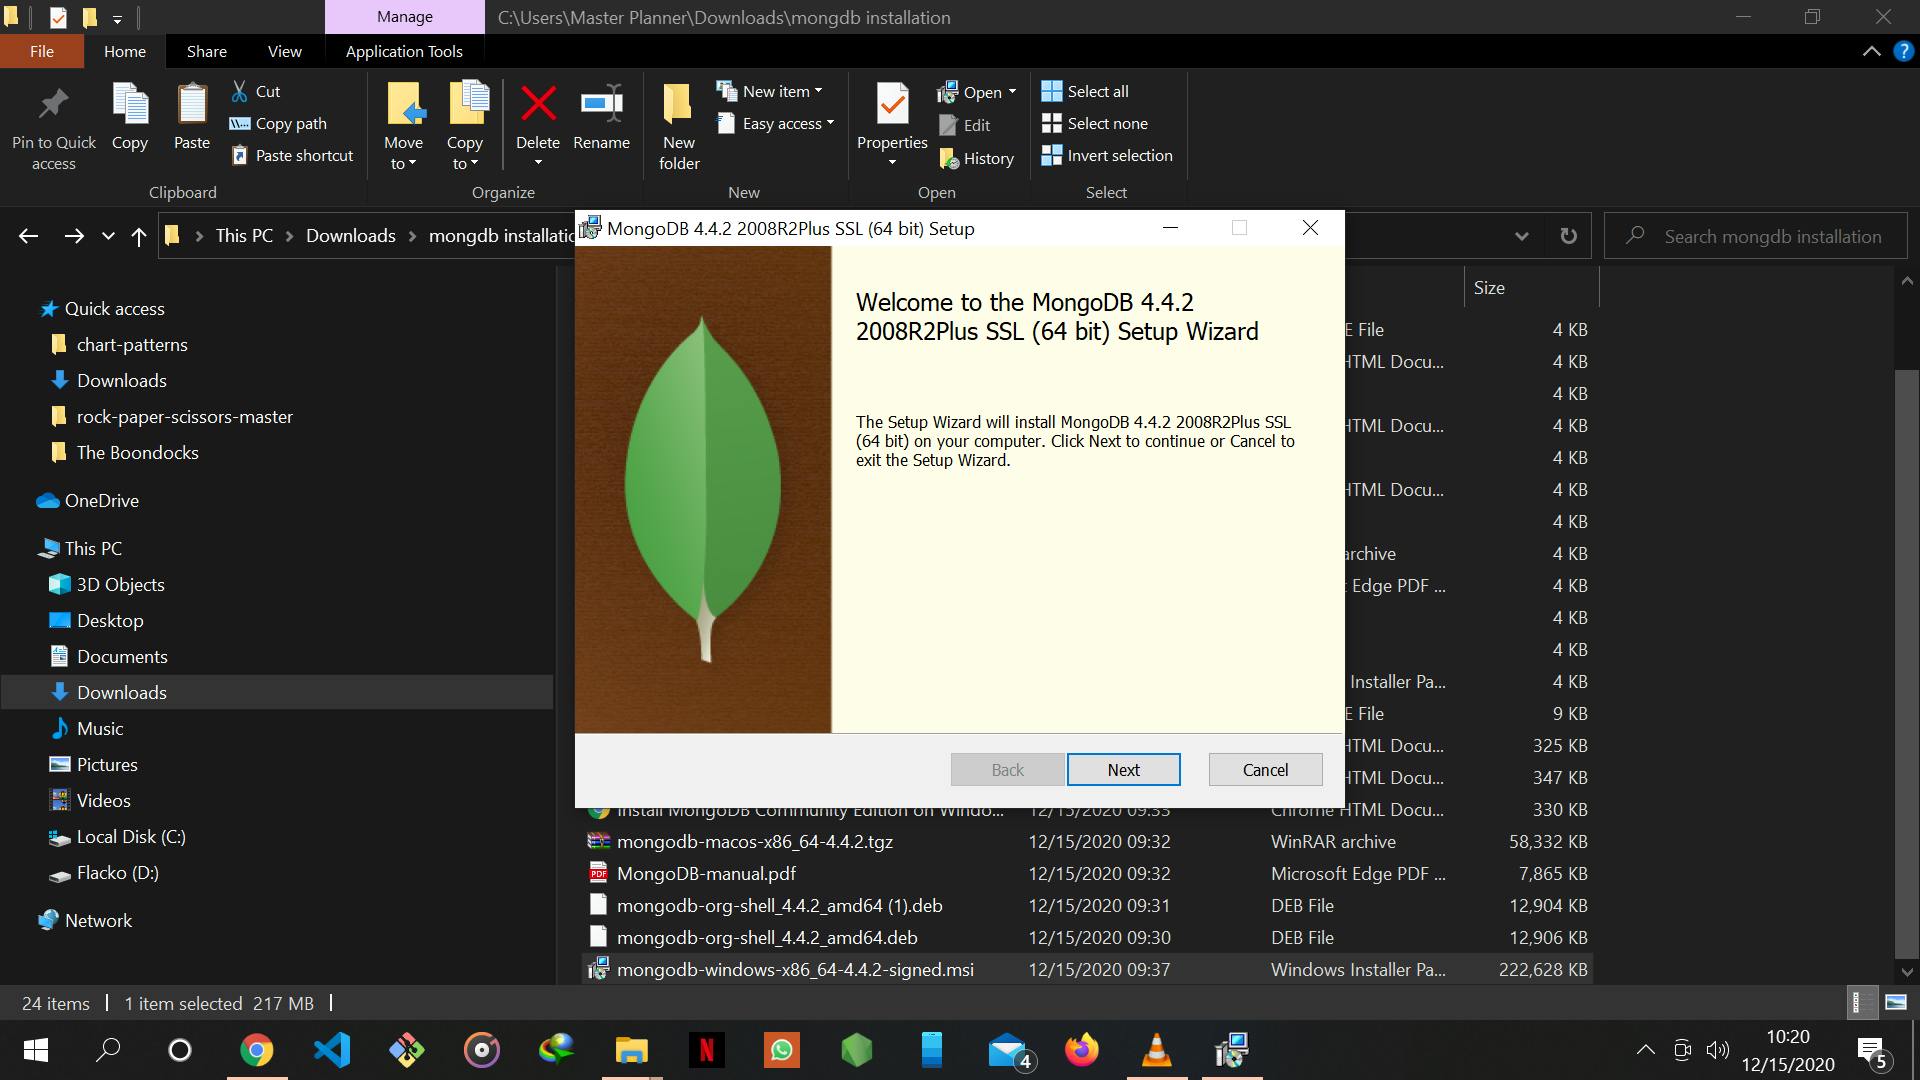
After haven downloaded the version of MongoDB for your OS, navigate to the folder where the MongoDB .msi file is found(this is usually the default Download folder.). Double-click the .msi file. Upon double-clicking, a set of screens will appear to guide you through the installation process.
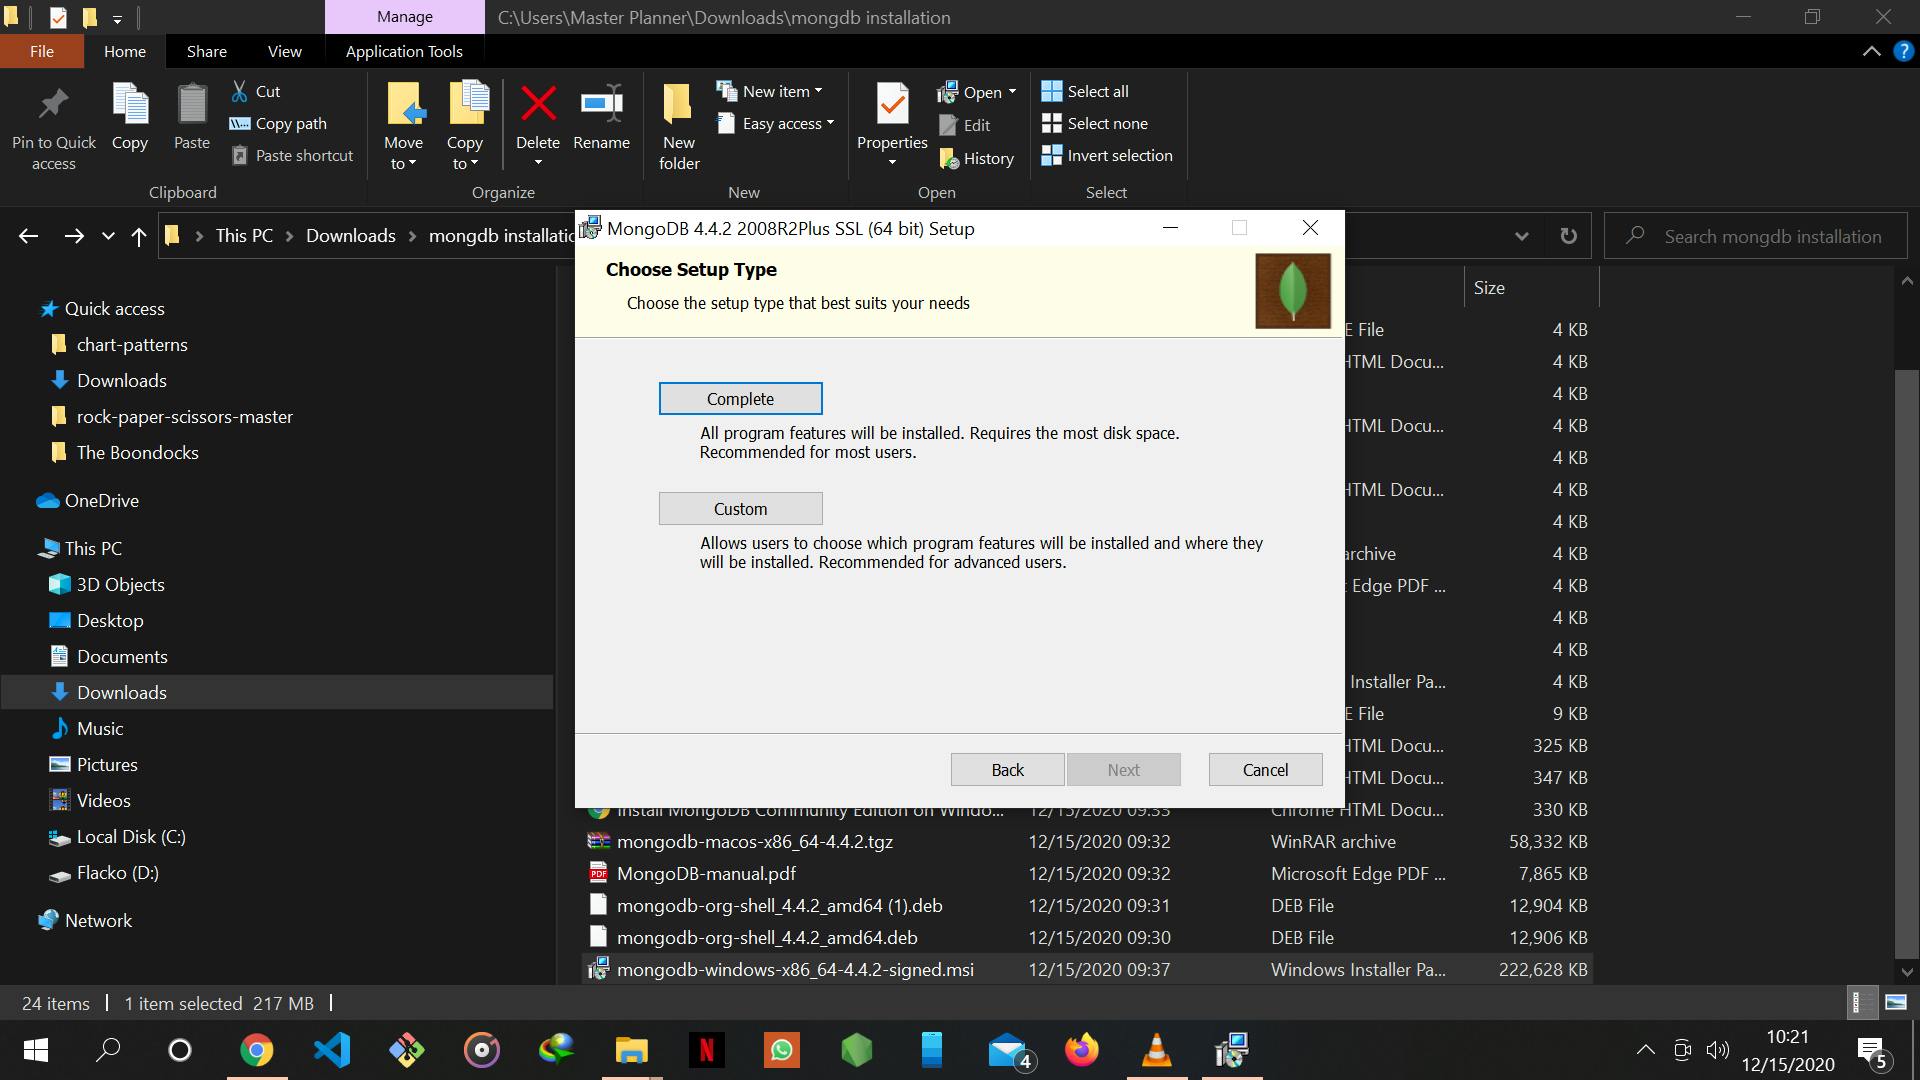
The next step in the installation process is to choose a setup type. You can choose either the Complete (recommended for most users) or Custom setup type. The Complete setup option installs MongoDB and the MongoDB tools to the default location. The Custom setup option allows you to specify which executables are installed and where.
After selecting the setup type, the next tab that opens is the Service configuration tab.
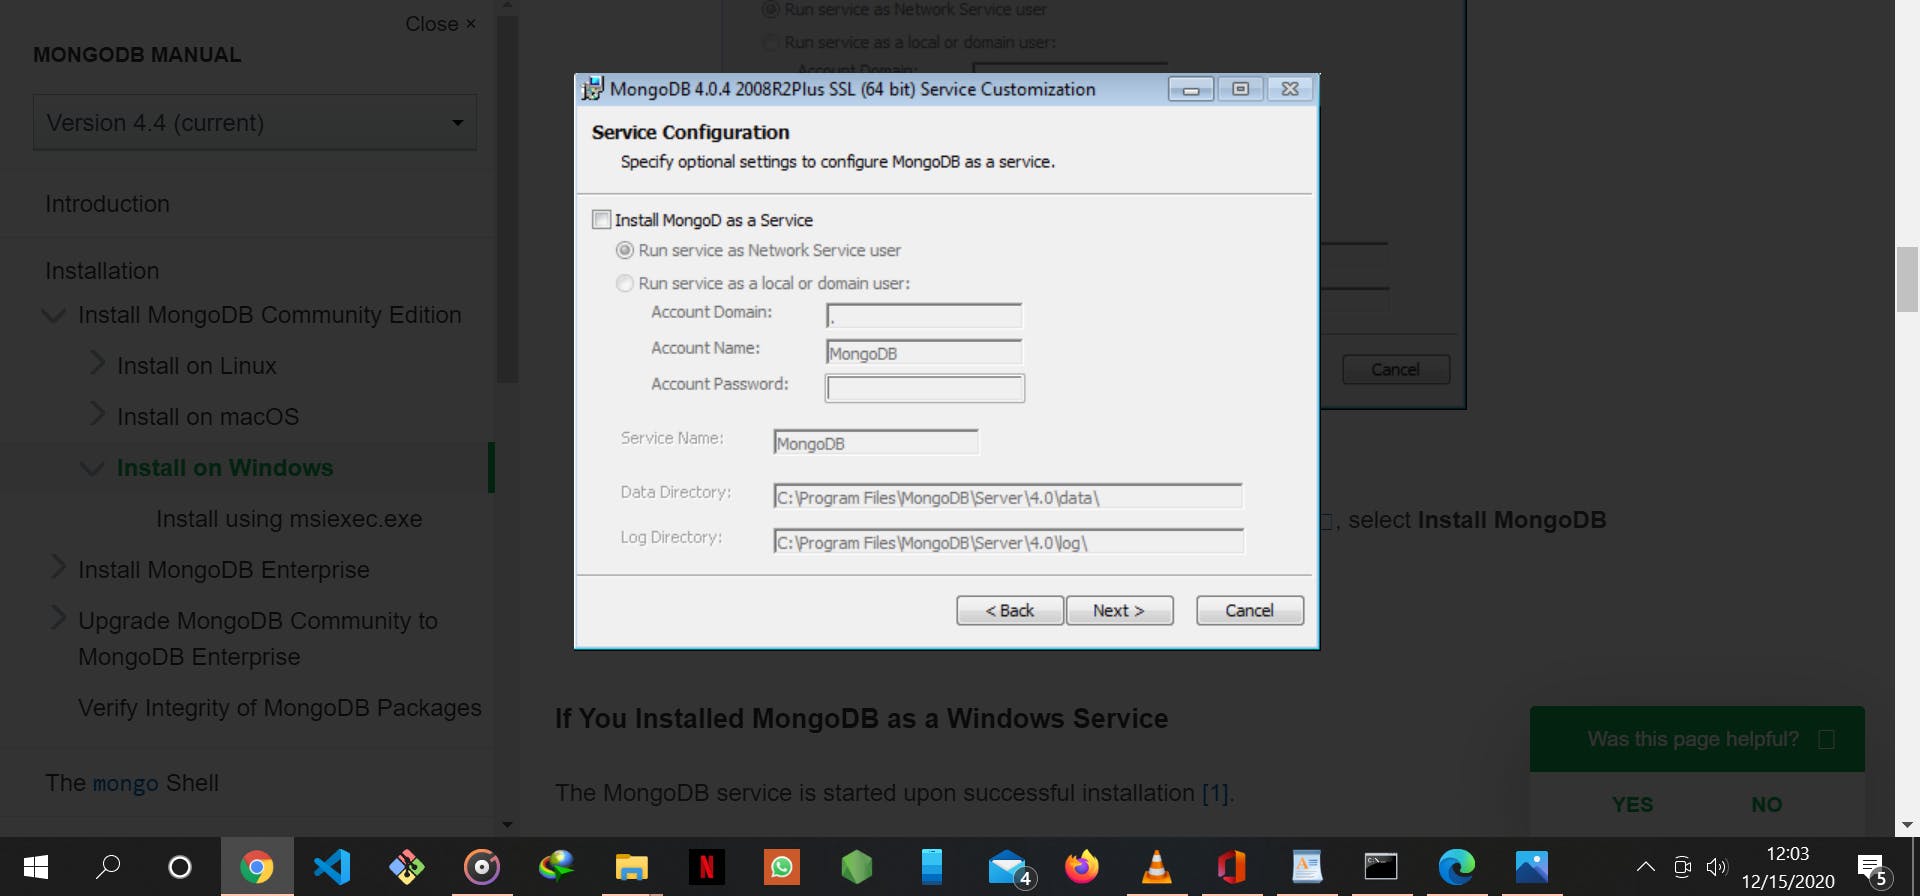
You can set up MongoDB as a Windows service during the installation or just install the binaries. To install MongoDB as a Windows carryout the following step.
- Select Install MongoDB as a Service MongoDB as a service and
- Select Run the service as Network Service user (Default).
After selecting the options above click the Next button.
Optional: In the next tab to have the wizard install MongoDB Compass, select Install MongoDB Compass (Default). When ready, click Install.
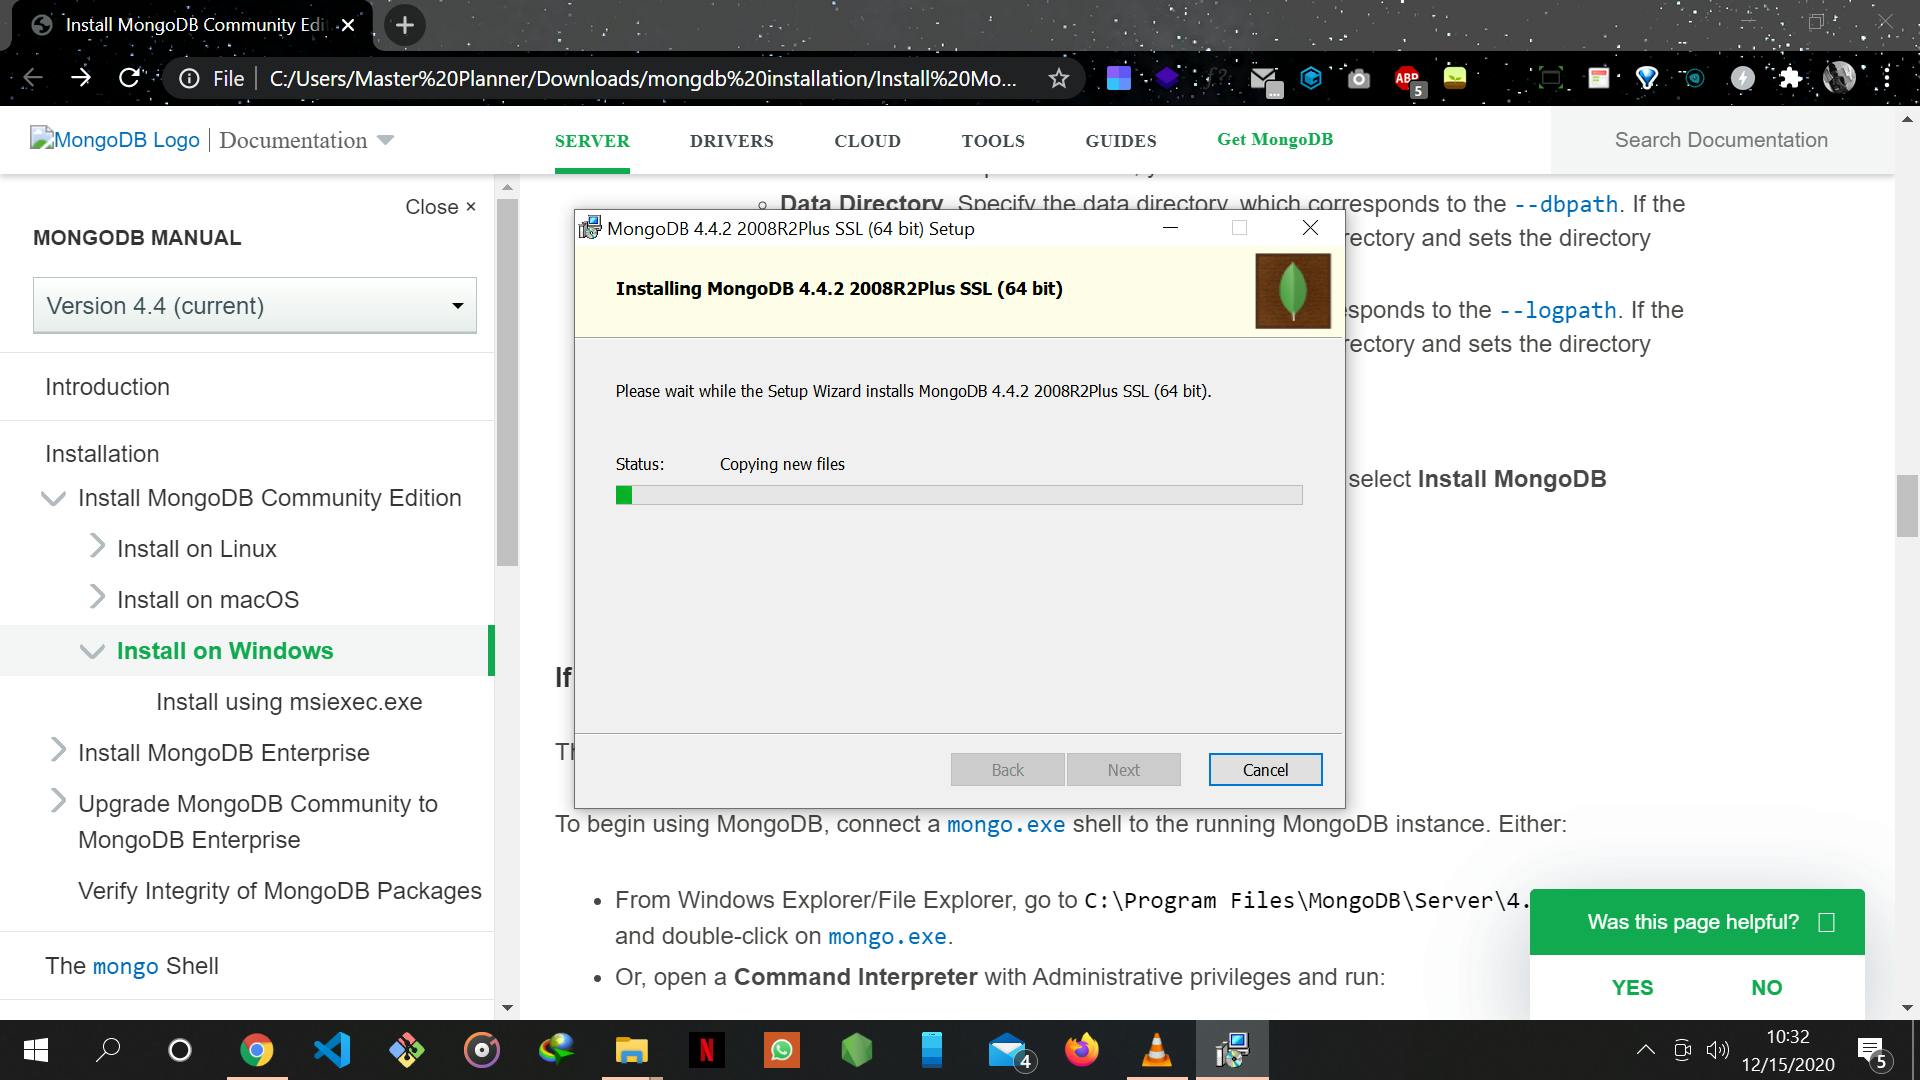
After a successful installation process, we have to setup or configure the MongoDB environment. MongoDB is configured using the configuration file \bin\mongod.cfg. To begin using MongoDB, connect a mongo.exe shell to the running MongoDB instance. To connect, open Command Prompt as an administrator and the following command.
"C:\Program Files\MongoDB\Server\4.4\bin\mongo.exe"
To make sure that MongoDB is working properly, run the following command to check the version of MongoDB that is installed on your system.
mongod --version
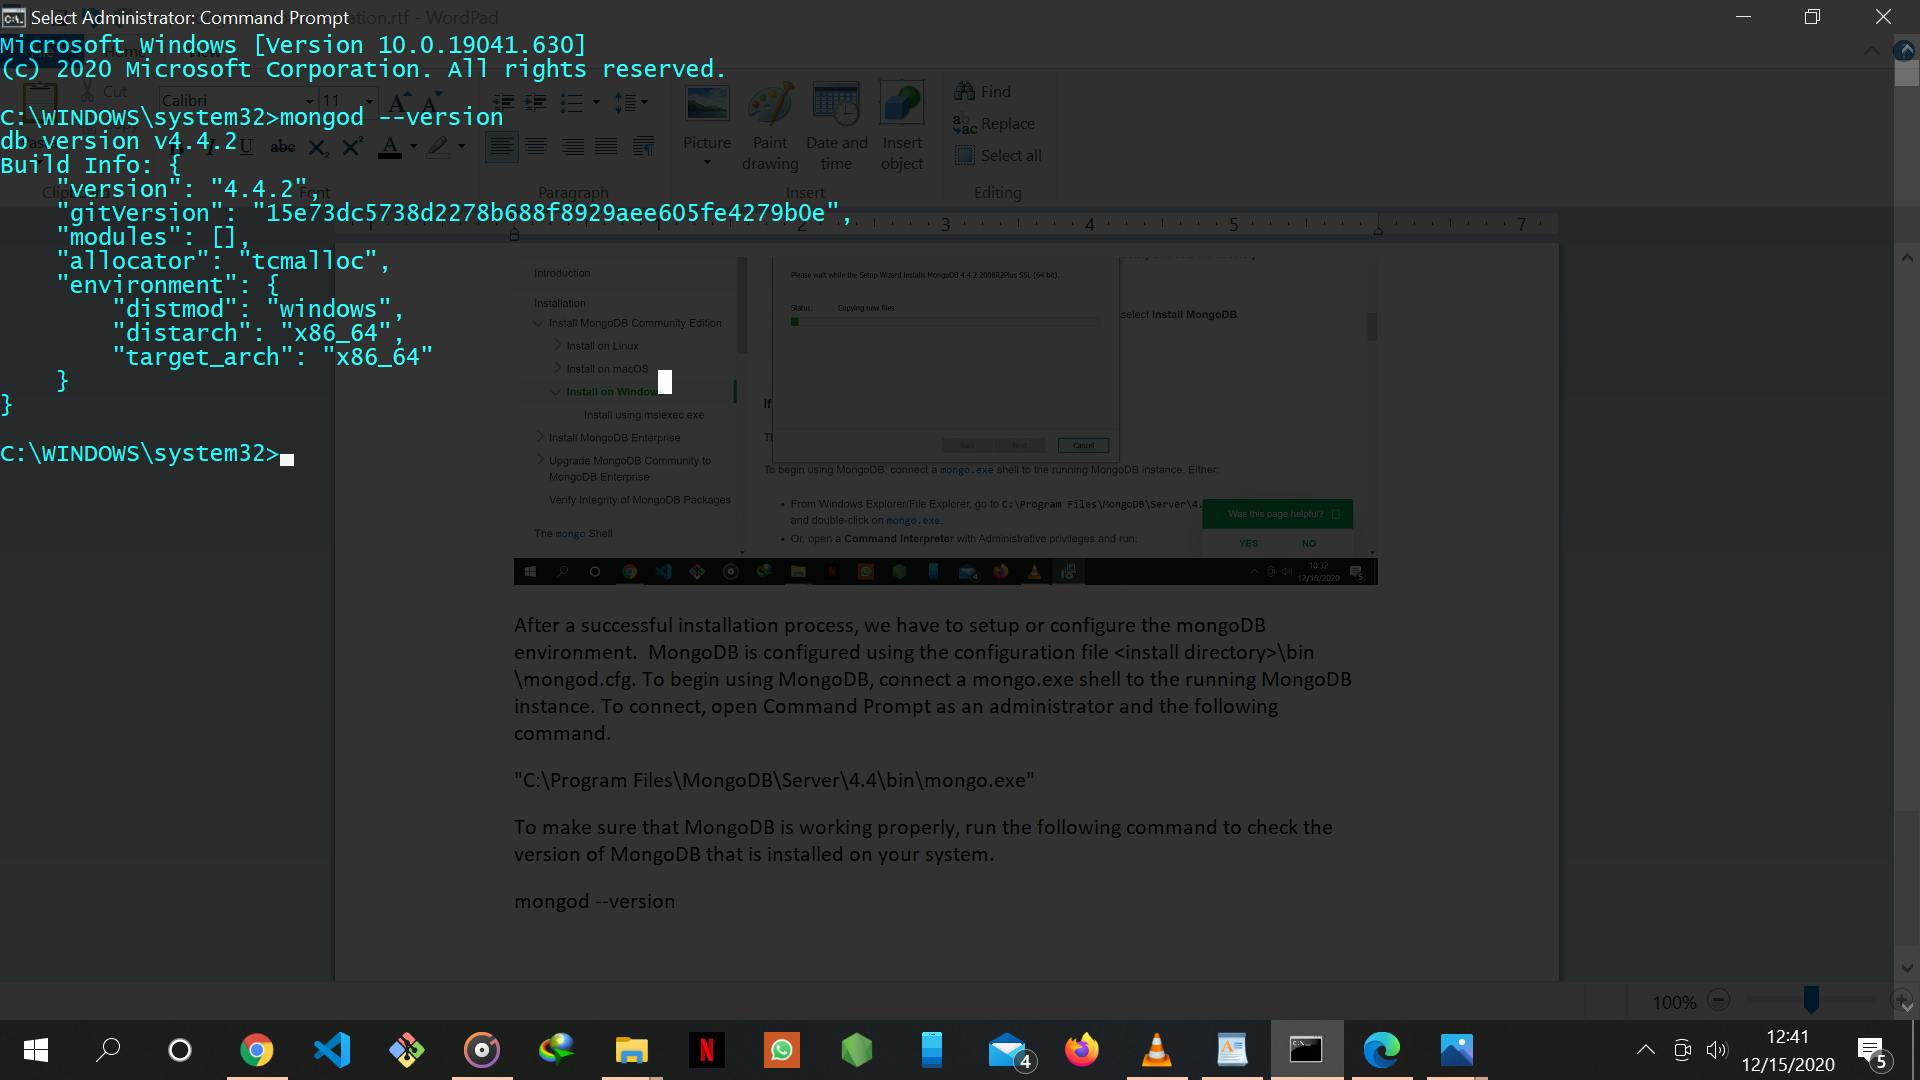
If the command outputs the result set above, it means you have MongoDB up and running on your system. I pray this post proves useful. Thanks for reading.
